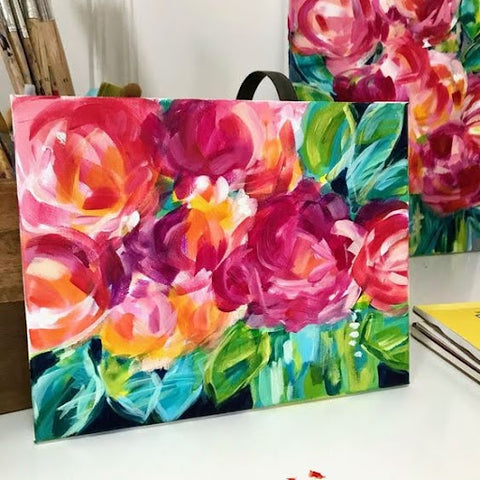
Introduction to Acrylic Painting
Acrylic painting is a unique way of making art. It uses colourful particles mixed with water called an acrylic polymer. You can use thin acrylic paints with water, like watercolours, or apply thick layers to create textured effects. The great thing about acrylic paint is that it dries fast. It means you can work on your painting quickly, unlike oil paints, which can take weeks to dry.
- Acrylic paint is a fast-drying polymer emulsion product that utilises surfaces like canvas, wood, or paper. The process is similar to vanishing your painting on canvas as well.
- It allows for quick drying of your acrylic paints, and you can perform frequent trials to achieve your desired texture.
- These acrylic paints can also be mixed to make a desired colour.
- Artists can also create textured visuals and add depth with multiple layers.
- The cleaning is accessible by water for acrylic medium, and more paint is available for next time's application.
- Varnish application ensures a protective coating and enhances vibrant colours.
Understanding Varnish
Importance of Varnishing
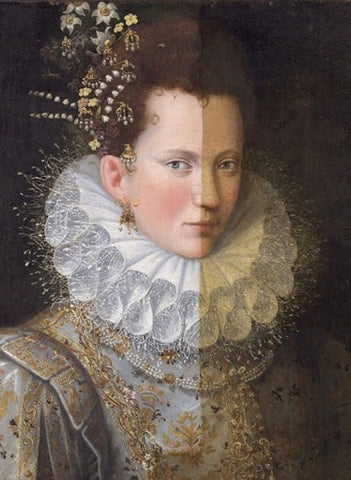
Due to their tiny micropores, acrylic paints are more prone to dust. Moreover, they start fading after some time. So, varnishing acrylic paints acts as a barrier to preserve and enhance the overall quality. Varnish keeps your painting safe from dirt and pollution, making it last longer. It's important because it protects the colours from sunlight, keeping them bright and preventing them from fading or changing colour over time.

This layer of varnish also preserves the colours in acrylic paintings. It enhances the aesthetic quality of the painting by creating a uniform finish with its pigments. The varnishing process intensifies the vibrancy and gives it a glossy, professional appearance.
The painting with a varnish layer is easy to clean and allows flexibility in restoration as this layer is easily removable. So, varnishing acrylic paintings is an essential step that provides protection, gives a professional aesthetic look, and preserves your painting for a longer time. This varnish layer is easily replaceable and removes all dust and dirt without disturbing the layers of paint.
So, if you want to remove dirt or dust from a painting in the future, apply a new varnish coat instead of adding more colours. You can also use an isolation coat before varnishing, which creates a barrier and protects the paint when the varnish is removed. This isolation coat removes varnish without affecting the acrylic paint layers. The most suitable isolation coat is Golden Soft Gel, also known as Gloss, diluted with water that provides sufficient levelling and foam release for your acrylic paintings.
Types of Varnish
These are some types of varnishes, each with its unique properties.
- Gloss: This type of varnish brings bright, vibrant, and shiny colours. It is considered the best varnish to use as it gives gloss to painting. When applied to varnish after drying, it responds to vibrancy and richness of colour.
- Matte: This varnish has a soft touch and creates a smooth texture. It gives paintings a similar natural appearance and a silky, non-reflective finish. It decreases the colour intensity and vibrancy, giving them a matte finish to enhance their overall appearance. This type of varnish creates a more contemporary and sophisticated look.
- Satin: Satin is another type of varnish that falls between a glossy and matte finish. It creates a subtle sheen or lustre appearance in terms of shine.
Materials Required for Varnishing:
Here are some materials require for the process of varnishing
- Varnish (gloss, satin, or matte, depending on your preference)
- Paintbrush (soft, synthetic bristles)
- Container for varnish (disposable cup or jar)
- Lint-free cloths
- Gloves (optional)
- Well-ventilated area
Step-by-Step Guide to Applying Varnish
Applying varnish to an acrylic painting is not difficult, but achieving a perfect and smooth layer requires practice. Here is a simple guide on how to apply varnish more efficiently
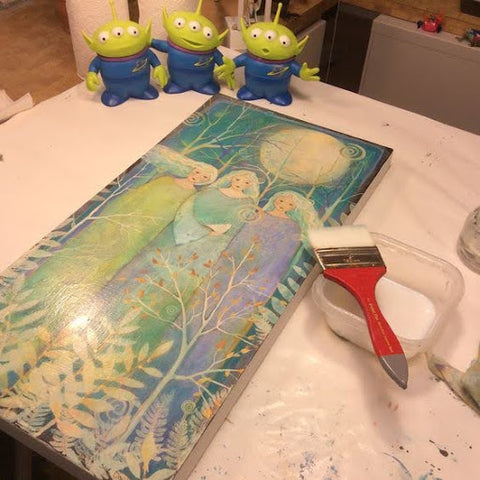
Step 01: Preparation
Preparation is the first and most crucial step in applying varnish to your painting. It would help to dry your painting entirely before applying the varnish layer. Compared to other painting mediums, acrylic painting typically dries fast. However, if the paint is slightly wet and you start varnishing, it will lead to streaks or uneven application. Letting it completely dry before varnishing is necessary, as it saves time and effort. When the painting is completely dry, lightly brush away any dust particles or debris.
Step 02: Isolation Layer
As mentioned above, an isolation layer is like a shield, protecting your artwork from dissolution after the varnish. It protects your painting and helps to easily remove the varnish layer without affecting the acrylic paints. This function allows the rest of the varnish to stay smooth and uniform. Similarly, this protective layer will shield your artwork from any chemical damage that removing the varnish may cause.
A soft acrylic gel medium, such as Soft Gloss gel from Golden, will be a good choice for this layer. Add roughly 30% water and 70% gel medium mixture for the isolation gel beaker while stirring gently. However, this ratio can be adjusted slightly to your taste for a more fluffy or thicker isolation layer.
- To put the isolation layer uniformly, lay your painting down on the table, then spread a mirror layer on top of it.
- Apply evenly from the thinned gel media mixture's centre and work outward to the sides.
- Ensure you work the mixture evenly to prevent bubble formation or uneven texture.
- A brush coat is commonly used as a single layer, but if the painting is oversized or requires more protection, two layers of the brush coat can be applied.
- Let the isolation layer dry for at least 24 hours before applying the varnish.
Step 03: Varnishing your Painting.
Before applying varnish, choose your varnish, whether it's glossy, matte, or satin, according to your preference. For liquid varnish, dilute it with water. It would help if you took a glass jar or plastic cup to pour and dilute it with water. Make sure it has a wide opening that fits your brush size. Read the instructions carefully mentioned on the varnish bottle. Start applying the varnish from the centre with thin layers to the outward edges of the canvas. It helps to prevent it from dripping.
You can also complete your varnish layer in two halves. It ensures you do not apply extra layers and effortlessly handles the shapes. Make sure that you have applied a sufficient coat according to your varnish type, as follows:
- For glossy varnish, use 2 or 3 thin layers.
- For matte and satin varnish, use two layers.
- Wait about 4-6 hours between each layer of varnish coating.
Step 04: Let the Varnish Dry
- Allow each layer of varnish to completely dry before putting the next varnish layer on.
- Wait about 4-6 hours for each layer of varnish to let the varnish dry and cure properly.
- During the last process, the varnish should dry naturally over a week. Avoid using a hairdryer or heat gun, as it can damage the painting.
While processing, covering your work with a box or screen is often a good idea. When the varnish is drying, it becomes very sticky. This stickiness helps prevent dust, animal hair, or anything else from floating around and sticking to it. Nobody wants varnish covered in fur!
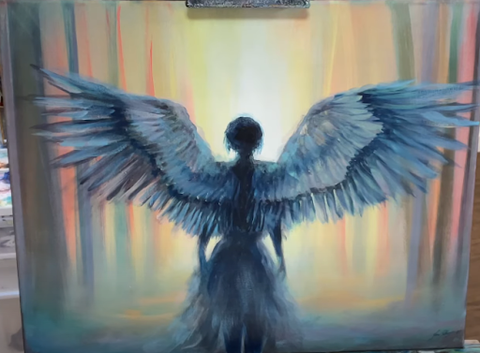
Step 05: Display your Painting
After drying, you can display your unique artwork anywhere without worrying about scratches, sunlight damage, or yellowing. Additionally, you can confidently show and hang your masterpiece on the wall or showcase it anywhere you desire, knowing it will stay vibrant and beautiful for many years.
Safety Precautions
The varnishing process should be done in a ventilated area to reduce exposure to fumes and other harmful chemicals.
- Wear protective gloves to protect your skin from contact with varnishes and other chemicals.
- Throw away any leftover varnish and cleaning supplies by the local disposal regulations for hazardous waste.
Cleanup and Storage Recommendations
After vanishing, immediately clean brushes and tools after use with a bar of soap and water to remove all residual varnish. If varnish has dried on brushes or tools, place them in a solvent recommended for acrylic paint cleanup and then wash with soap and water. Keeping the store varnish and other artist materials in a cool room with no moisture and out of direct sunlight and heat sources is recommended. Make sure containers are tightly sealed to stop evaporation and preserve the quality of the varnish. Stores should avoid sources that are unsafe to ignite or contain flammable substances.
Final Thoughts
Acrylic painting provides a fast-drying surface to achieve your desired texture. You can preserve your beautiful artwork with varnish. The isolation layer is beneficial if you want to remove this varnish layer in the future. The type of varnish depends on your preference, such as matte or glossy, liquid or spray, and permanent or temporary. Therefore, follow the steps carefully to varnish your acrylic painting to make it more attractive and vibrant and serve it for many years.